Why Does My Lamination Machine Cause Bubbles and How to Prevent It
A print shop rushes a 5,000‑sheet job through the laminator. The first few hundred sheets look perfect, then bubbles start appearing—tiny dots scattered across the surface, streaks running parallel to the feed direction, and eventually large blisters that lift the film entirely. The job is scrapped. The client is unhappy. The operator is frustrated.
Bubbles in lamination are among the most common quality defects, and they almost never come from a single catastrophic failure. Instead, they result from small, cumulative process drifts—paper that absorbed too much humidity overnight, a roller that picked up dried adhesive, or a temperature setting that drifted 5°C too high. On a Film Laminator like the KFM‑106MC, which reaches 12,000 sheets per hour, even a minor issue propagates quickly. The good news is that most bubble defects follow predictable patterns. This guide helps you identify which bubble type you’re seeing, trace it to the root cause, and apply the fix—without scrapping the next roll.
Three Types of Bubbles – Recognize Them Before Fixing
Before adjusting any machine parameters, inspect the pattern of the bubbles. The appearance tells you where to look first.
Small Pinpoint Bubbles (Moisture Related)
Tiny, round bubbles scattered randomly across the sheet—often more concentrated at the edges. These are caused by moisture trapped in the paper. When the paper passes through the heated rollers, moisture turns to steam, expands, and lifts the film in small, isolated spots. Paper stored in humid conditions or left unwrapped overnight is the primary culprit. Edge moisture absorption creates a “curled” effect that flattens under the roller but springs back, pulling the film away.
Long Streak Bubbles (Roller Issues)
Bubbles that form long lines parallel to the machine direction, often repeating at regular intervals. These indicate contamination or damage on the roller surface. A scratch, groove, or dried adhesive particle on the silicone roller lifts the film locally with every revolution, creating a repeating defect. Worn bearings can also cause the roller to oscillate, producing intermittent streaks.
Large Blisters (Temperature Mismatch)
Large, raised areas where the film has lifted completely from the paper. The blister feels soft when pressed. This is almost always a temperature problem. If the temperature is too low, the adhesive doesn’t activate, and the film delaminates in patches. If the temperature is too high, the film shrinks unevenly, pulling away from the paper surface. In thermal laminators, excessive heat causes the adhesive to over‑activate and create gas bubbles.
Moisture – The Most Common Hidden Culprit
How Paper Absorbs Humidity in Storage
Paper is hygroscopic. In a typical pressroom with 50‑60% relative humidity, an exposed stack of paper can absorb enough moisture in 24 hours to exceed 8% moisture content. When this paper passes through the heated laminating rollers (typically 70‑120°C depending on film type), the moisture turns to steam. The steam expands, creating gas pockets between the paper and the film. The result: pinpoint bubbles, especially at the sheet edges where moisture ingress is fastest.
Solution – Preheating Paper or Using Dehumidifier
Before laminating, run the paper through the machine with the heating rollers engaged but no film applied. This drives off surface moisture before the adhesive contacts the paper. Alternatively, condition the paper stack in the lamination area for 24 hours before the run. For shops in high‑humidity regions, install a dehumidifier in the laminating zone to maintain consistent moisture levels.
Prevention – Store Paper with Desiccant in Sealed Wraps
Keep paper rolls and stacks sealed in their original moisture‑proof packaging until ready for use. If the package has been opened, store the paper in a climate‑controlled room at 45‑55% RH. For long‑term storage, add desiccant packs inside the sealed wrap. Never leave cut sheets exposed overnight on the feeder table.
Temperature Settings – Too High or Too Low?
Temperature is the second most common variable affecting bubble formation.
Symptoms of Low Temperature: Cloudy Film and Weak Adhesion
If the film appears cloudy or hazy, and you can peel it off the paper with minimal force, the temperature is too low. The adhesive hasn‘t fully activated. Increase the temperature in 5°C increments until the film becomes clear and resists peeling. For BOPP thermal film, the recommended laminating temperature is 85‑105°C. For PET film, increase to 100‑120°C.
Symptoms of High Temperature: Film Shrinkage and Surface Blisters
If the film shows wrinkles, shrinkage, or large blisters, and the edges appear scorched, the temperature is too high. The film has overheated and begun to contract. Reduce temperature by 8‑10°C. For thick films or heavy ink coverage, a slightly lower temperature with slower speed often yields better results than running hotter and faster.
Finding the Sweet Spot for Different Film Types
The table below provides recommended starting temperatures for common laminating films on a Film Laminator. Always run a small test batch when switching films or paper stocks.
| Film Type | Recommended Temperature Range (°C) | Notes |
|---|---|---|
| BOPP thermal | 85‑105 | Start at 90°C; increase if adhesion is weak |
| PET thermal | 100‑120 | Requires higher temperature than BOPP |
| Metallized thermal | 95‑110 | Sensitive to overheating; start at lower end |
| Nylon thermal | 110‑130 | Used for high‑durability applications |
Roller Condition and Nip Pressure
Even with perfect temperature and dry paper, contaminated or misaligned rollers will produce bubbles.
Worn or Dirty Rollers Create Air Pockets
Silicone pressure rollers pick up adhesive residue, paper dust, and debris over time. When the roller surface has a raised bump of dried adhesive, it creates a localized pressure point that lifts the film. Concave, convex, or canted rollers also cause trapped air bubbles and poor adhesion. Run your hand across the roller surface with the machine stopped and cooled. Any visible ridge, flat spot, or embedded particle is a problem.
How to Clean Rollers Without Damaging Surface
For silicone laminating rollers, use 98% or higher isopropyl alcohol on a lint‑free cloth. Wipe the roller while rotating it slowly by hand. Never use benzene, ester solvents (thinner, ethyl acetate), or abrasive tools—they damage the silicone surface. For heavy adhesive buildup, apply isopropyl alcohol to a soft brush and work gently along the roller grain. Allow the roller to dry completely before restarting the machine.
Adjusting Nip Pressure for Thicker Stock
Nip pressure must be balanced—too low fails to squeeze out trapped air; too high crushes the paper. As a rule of thumb, for every 0.1mm increase in paper thickness above standard 200gsm, increase nip pressure by approximately 5%. For heavy cardstock (400‑500gsm), reduce pressure to avoid crushing the paper fibers while ensuring the roller still makes full contact. On machines with adjustable nip gap, set the gap to match the paper thickness plus a very slight compression (approximately 0.1‑0.2mm interference).
The Role of Glue (for Wet Lamination Systems)
While the KFM‑106MC primarily supports thermal lamination, shops using wet or solvent‑based adhesive systems face additional bubble risks.
Insufficient Glue Coverage Produces Dry Spots → Bubbles
If the adhesive coating is too thin or inconsistent, some areas will not bond. The trapped air expands under heat, forming bubbles. Check the glue applicator roll for worn grooves or uneven metering. Adjust the gap between the applicator roll and the metering roll to ensure a uniform coating across the full web width.
Incorrect Mix Ratio for 2‑Component Adhesives
For two‑part adhesives, improper mixing creates reactive gas that appears as bubbles in the finished laminate. Use a calibrated mixing system and verify the mix ratio daily. If bubbles appear in the machine direction and the adhesive shows foaming, reduce the recirculation pump speed—excessive turbulence introduces air into the adhesive supply.
What the Bubble Pattern Tells You – A Diagnostic Guide
Bubbles are specific. The pattern tells you where to look.
If bubbles appear only in areas of heavy ink coverage. The ink may not be fully dry before lamination. Heavy ink films trap solvents that vaporize under heat. Solution: allow printed sheets to dry for 24‑48 hours before laminating, or run them through a heated air knife before the adhesive is applied.
If bubbles start from the leading edge and spread inward. The film is pausing on the heated roller before the paper enters. When the machine stops briefly, the stationary film overheats at the edge. Solution: before restarting, pull a few inches of film through to clear the overheated section.
If bubbles appear at regular intervals (every roller circumference). The pressure roller has a flat spot, groove, or embedded debris. Solution: inspect the roller surface, clean thoroughly, and replace the roller if damage is visible.
If bubbles are worse at the sheet edges. The paper has absorbed moisture unevenly (edge curl). Solution: condition the paper stack in the laminating area before the run or run the sheets through with heat but no film first.
If bubbles disappear when you slow the machine down. The temperature is too low for the current speed—the film doesn‘t have enough contact time. Solution: increase temperature or reduce speed. As a rule, reduce speed by 20% before increasing temperature.
Common Questions Operators Ask About Lamination Bubbles
Can bubbles disappear after the film cools down?
No. Once a bubble has formed, the film has been permanently lifted from the paper. Cooling will not collapse the bubble. The only fix is to scrap the affected sheets and correct the root cause before the next run.
Does anti‑static bar affect bubble formation?
Yes—indirectly. Anti‑static bars reduce dust attraction to the paper surface. Dust particles create small raised points that prevent the film from laying flat, acting as bubble nucleation sites. Keeping anti‑static bars clean and properly adjusted reduces one source of pinpoint bubbles.
My automatic laminating machine is new – why bubbles still?
New machines often bubble because of incorrect initial setup. The factory default temperature settings are generic; you must dial them in for your specific paper, ink, and film combination. Also check that all shipping brackets and protective films have been removed from the rollers.
Quick Prevention Checklist for Operators
Before starting the first run of the shift, complete these five checks:
-
Moisture check: Store paper in sealed wraps; run a test sheet through heat without film to drive off moisture.
-
Temperature verification: Use a contact pyrometer to confirm the roller surface temperature matches the controller reading.
-
Roller inspection: Wipe silicone rollers with 98% isopropyl alcohol and a lint‑free cloth; check for visible damage.
-
Nip pressure test: Run a test sheet at low speed, stop mid‑cycle, and inspect glue pattern and film adhesion.
-
Film tension check: Ensure the film unwinds smoothly without excessive drag—too little tension causes bubbles before wrinkles appear.
The Laminator Built for Consistent, Bubble‑Free Output
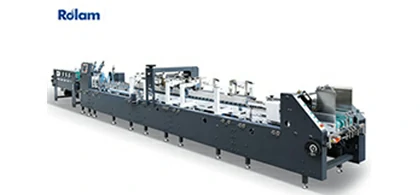
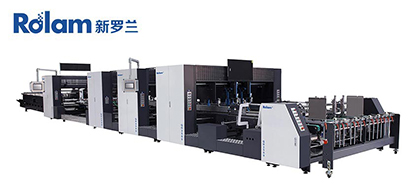
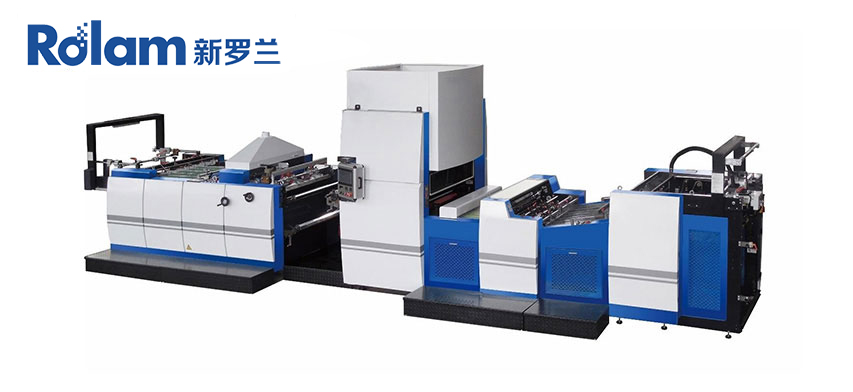
When bubble‑free lamination is the daily requirement, the engineering of the machine determines how reliably the process runs. Rolam manufactures the Automatic Hot Knife Film Laminating Machine KFM‑106MC for high‑volume print finishing. The feeder reaches 12,000 sheets per hour with pre‑stacking capability, minimizing downtime between loads. The hot knife cutting system provides precise edge trimming without film tails. The machine supports both thermal laminating and water‑based glue systems, with ±1°C temperature zone control for fine‑tuned adhesive activation.
For a production manager dealing with bubble complaints, the KFM‑106MC‘s ability to maintain consistent temperature across the roller width and its user‑friendly PLC interface with saved job profiles reduce the variables that cause bubbles. When you encounter a new paper or film combination, stored settings for similar materials provide a reliable starting point—reducing test waste and keeping the line running.
→ Request a quote from Rolam for the KFM‑106MC Automatic Hot Knife Film Laminating Machine — Share your typical paper weight (gsm), film type (BOPP, PET, thermal), and monthly sheet volume. Their technical team can recommend default temperature and pressure settings for your specific application.